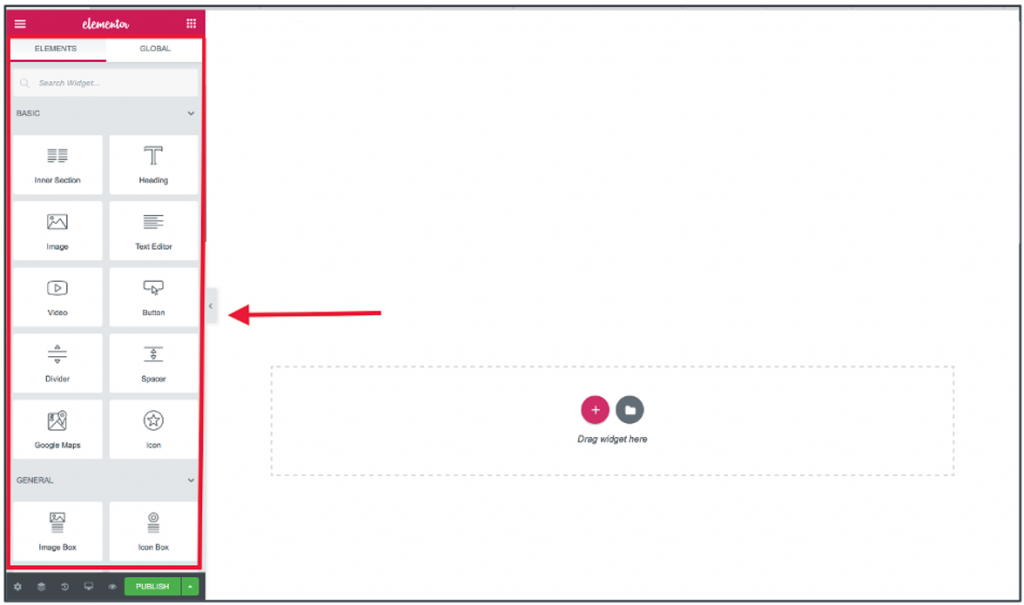
To kick things off, we’ll start with the main feature in Elementor, the widgets in the left sidebar.
There you will find multiple widgets to choose from, ranging from images, text, videos, buttons, maps, and much more that can be applied directly onto Pages and Posts.
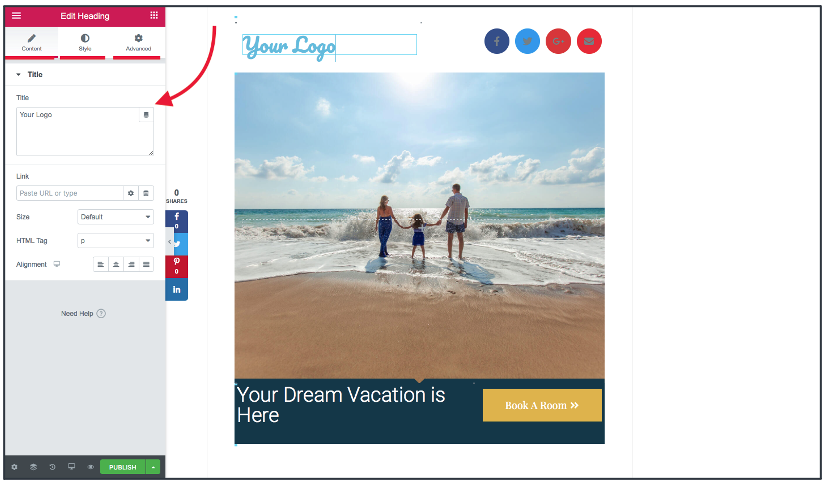
To add a widget on a page, you simply drag and drop the widget into a Section or click on the red + icon to select a section display option. When the widget appears on the page, the widget editing settings will open in the top left sidebar.
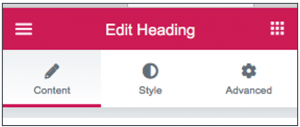
These editing settings (are universal and appear for most widgets) include:
Content: Edit the content the widget will feature.
Style: Customize how the content/widget will be presented
Advanced: Add additional features such as motion effects, code etc. to the widget
Please keep in mind that as each widget differs, so do their edit features within the content, style and advanced settings.
(2) Sections
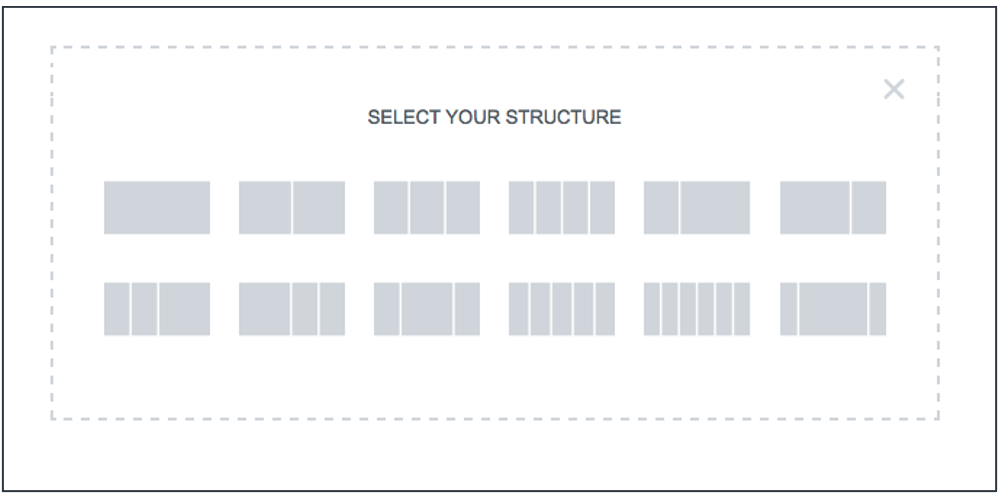
Next up on the list is the Section feature. Which is the addition sign located in the widget area (checkered box). This feature lets you organize and arrange your content (widgets) however you deem the best fit.
Simply click on the Section feature (addition icon) which will open a number of different structures you can choose to arrange your content. (A very convenient feature if you’re looking to include various pieces of information in one organized place).
Then after having done so, you can move forward with editing the layout, style, or advanced settings of the section you selected.
Once satisfied, all that’s left for you to do is to simply drag and drop your content (widgets) in the desired sections.
(3) Templates
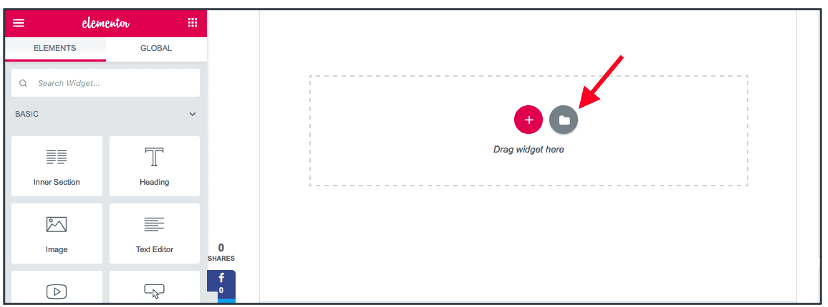
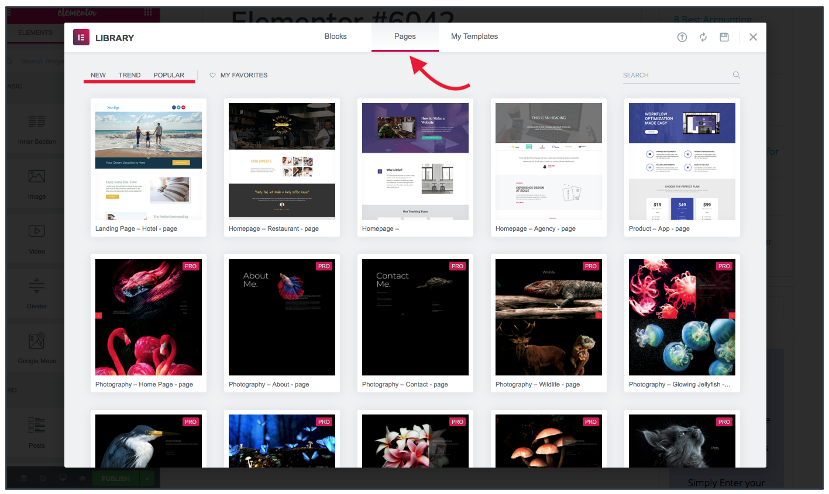
Just to the right of the section option, you’ll find the template feature (folder icon). This awesome feature allows you to import and add pre-built templates and blocks to your pages/posts.
All you have to do is simply click on the icon, which will open the Elementor gallery. Here you’ll be introduced to the numerous available page and block templates you can choose from.
To add a page or block template, simply hover above the template, then select insert. After adding a template to your post or page, you can edit the template to your liking with the customization settings featured to the left.
(4) Bottom Sidebar Settings
At the very bottom of the left sidebar panel, you’ll see 6 different features that are available to you to use!
They are :
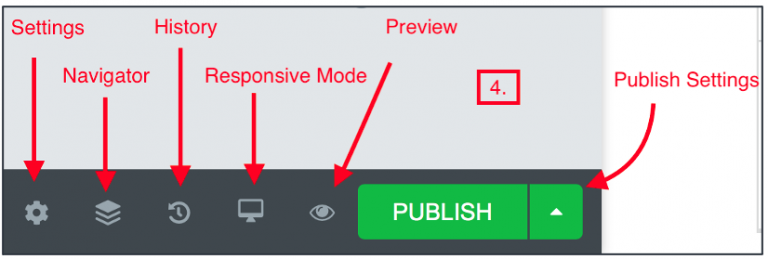
Settings – General post settings (regards the title, excerpt, featured image of the post and style)
Navigator – Just as the name indicates, the navigator feature helps you navigate across your content! (extremely helpful if you have long content so you won’t be having to scroll up and down so much)
History – Accidentally deleted or added something you wish never did!? No need to worry! With the history feature, you can browse through your editing history or revisions and pick up wherever you’d like to start again.
Responsive Mode – With this feature, you can preview how your content will be displayed on different devices such as a tablet, desktop, or mobile phone.
Preview – Want to take a live look at how your content will look once you publish? Simply click on the eye icon to do so.
Publish Settings – So you’re ready to publish your content! To do so, simply click on the “Publish” button, and you’re all set! But wait, what if you created an awesome piece of content but you’re still not ready to publish. That’s alright, you can select the upward arrow which will take you to additional “Save Options” where you can save as a draft.
(5) Additional Elementor Settings
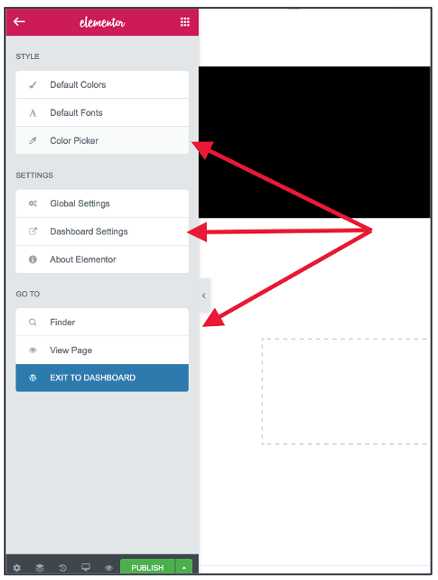
The last feature on the list is the ‘Additional Elementor Settings’. You can find it in the top left of the sidebar.
Here you’ll be able to access additional configurations such as style (can change the default colors, fonts, and color picker), global settings, and helpful tools such as the finder.
You can also choose to exit the Elementor dashboard from here.